
Clevertouch Live Training Guide
Lesson 1 - Getting Started
Registering for a Clevertouch Live account
1. Visit www.clevertouchlive.com and follow the on-screen instructions to register and
sign-in
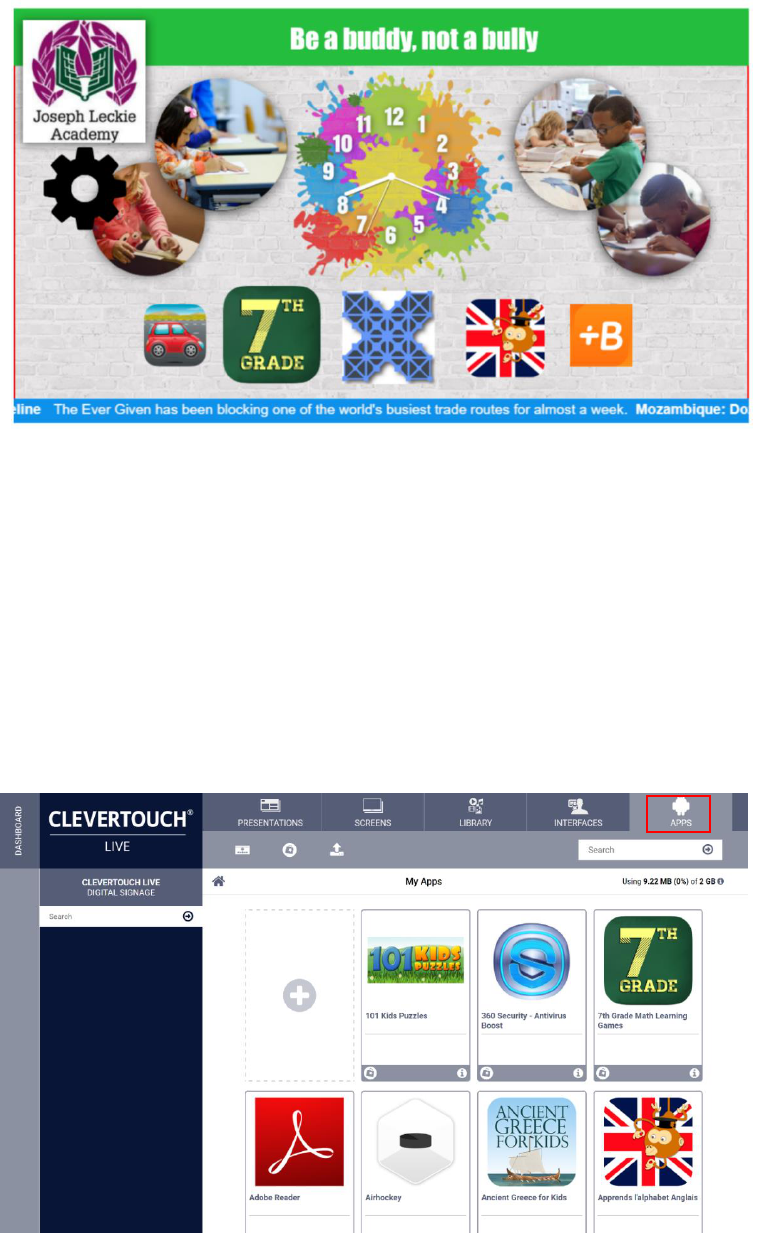
Personalising the account
1. Select Personalise from the main menu
2. Select the upload buttons above the Logo and images
3. Browse on your computer to add the logo and images
4. Select okay

Adding screens to Clevertouch Live
Note: Refer to the Clevertouch Getting started guide to get detailed
instructions on how to connect CM Series screens and players to the
Clevertouch live account
1. Select Apps from the Clevertouch home screen
2. Select Clevertouch Live
Tip: This may be called Clevermessage, update the firmware to install Clevertouch live

3. Select Click here to get your code
4. Make a note of the pin code. Please do not close this screen

5. Select the screens tab
6. Select the Plus icon
7. Insert the pin code
8. Your Clevertouch screen is now connected to your Clevertouch Live account

Selecting your user functionality experience
1. Select home then select site functionality
2. Select your experience by choosing either All, Signage, Launchers or Room Booking

Lesson 2 – Working with Launchers (Clevertouch Interactive Desktops)
Importing a Clevertouch Live Launcher
1. Select the Interfaces Tab
2. Select Launchers

3. Select import template
4. Select a launcher presentation by clicking on it, when the tick appears on the
presentation select the plus icon

5. Rename the channel, Select Import
6. The new launcher will now appear in your Clevertouch live account

Sending a Launcher to the screen
1. Select the screens tab
2. Select the launchers Icon
3. Drag the launcher to the screen

Editing a Launcher (Applies to Launchers & Signage presentations)
1. Select the Pen icon at the bottom right of the thumbnail

2. Click on the padlock to open the design creation toolbar
3. Select an item on the left to edit
4. Select the image or logo and select the rubbish bin to remove
5. Select the Plus icon

6. Click on Select files to browse for a new Logo or image
7. Once you have selected the file click on finished, your new Logo or image will appear on
your screen
Adding an app
1. Select the Apps tab

2. Select Cleverstore icon
3. Click on the app that you wish to import
4. Select the Plus button under the Presentations tab to import into your account
Adding elements to the Launcher
1. Click on the padlock to open the design creation toolbar, edit a presentation with an
element-app included

2. Select an element-app to edit and click anywhere in the assign app box to show the
available apps in your repository

3. Select an app and click on save
4. The new app will appear on your Launcher

Adding an RSS Feed (Applies to Launchers & Signage presentations)
1. Click on the padlock to open the design creation toolbar, edit the template by selecting the
pen icon at the bottom-right of the thumbnail
2. Select rss from the left hand-side
3. Add the relevant rss feed and select save.

Changing the settings of the rss feed (Applies to Launchers & Signage
presentations)
1. Select the cog icon in the grey toolbar
2. Add the appropriate settings and select save

Applying a Mask (Applies to Launchers & Signage presentations)
1. Click on the padlock to open the design creation toolbar, edit the template by selecting the
pen icon at the bottom-right of the thumbnail
2. Select the image or object you wish to add the mask to

3. Select the mask icon from the grey toolbar

4. Select the appropriate mask and select save
Adding sidebars to the Launcher
1. Select a Launcher
2. Select the cog icon from the grey toolbar

3. Check the box labelled sidebars visible, select save
Creating a Launcher app folder to display apps (Sidebars not visible)
1. Edit the desired Launcher by selecting the Edit button on the bottom-right of the thumbnail
2. Click the padlock in the grey toolbar to edit the Launcher, select continue

3. Select the right arrow in the grey toolbar to move through the menu items
4. Select the folder icon
5. The new folder appears on the Launcher
6. Select the new folder to edit
7. Select the cog in the grey toolbar to edit the settings of the new folder
8. Edit the settings as necessary

Creating a new Launcher (Applies for Launchers & Signage
presentations)
Note: When working with signage a new presentation is created not a Launcher
1. Click on the padlock to open the design creation toolbar, select create new blank launcher
from the tool bar
2. Give the launcher a name and select save

3. Turn on edit mode by selecting the lock icon in the tool bar, press continue when prompted
4. You are now able to add zones to the Launcher or presentation when working with signage

Adding a new zone (Colour block, applies to Launchers & Signage
presentations)
1. Click on the padlock to open the design creation toolbar, select add colour block from the
grey toolbar

2. Name the zone and select save
3. Use the mouse to move the selected item, select one of the 4 corners to resize the zone.

keeping the aspect ratio when resizing a zone (Applies to Launchers
& Signage presentations)
1. Press the shift key when resizing the zone (Only applies to bottom centre, bottom right and
right centre drag handles)

Adding an image to the Launcher (Applies to Launchers &
Signage presentations)
1. Click on the padlock to open the design creation toolbar, select add images and backgrounds
from the tool bar
2. Name the zone and select save

3. Select the edit button next to images on the left-hand side
2. Select Image then select rubbish bin to delete

3. Select Plus icon to select a new image
4. Click on select files to locate an image on your computer, select finished once complete
5. The new image now appears on your Launcher page

Adding a Twitter feed or Youtube zone (Applies to Launchers &
signage presentations)
1. Click on the padlock to open the design creation toolbar, select the Youtube icon from the
tool bar
2. Name the zone name and save

3. Select the edit button next to Youtube
4. Include the twitter feed into the box remembering to omit the @ symbol

Changing the settings of an image (Applies to Launchers & Signage
presentations)
1. Click on the padlock to open the design creation toolbar, edit the image and select the cog
icon
2. Change the appropriate settings and save

Adding a touch zone (Applies to Launchers & Signage presentations)
1. Click on the padlock to open the design creation toolbar, select Add Touch Zone
2. Name the zone and save

3. The touch zone is added to the launcher
4. Drag the new touch zone onto the image to be used as a touch zone
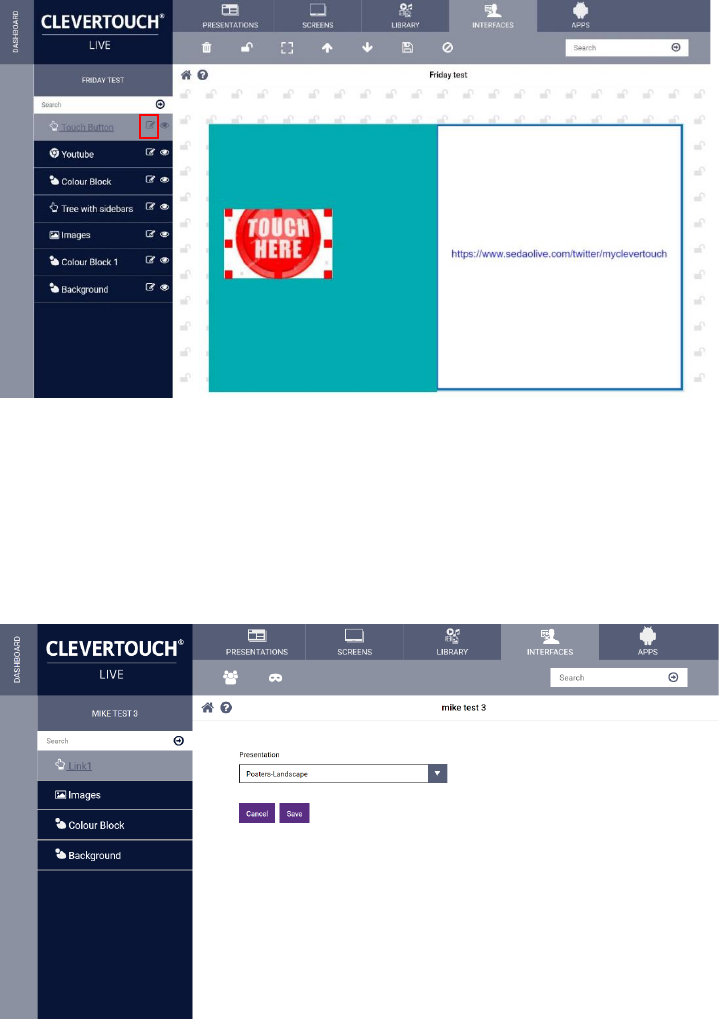
5. Select the edit icon next to the touch button
6. Select the presentation from the drop- down menu that the touch button activates and
select save
7. Touch the icon to jump to the new presentation

Lesson 3 Working with Signage
Select Signage from the Home menu
1. Select the Presentations tab

2. Select import template
3. Select a presentation, click on the plus icon to import into your Clevertouch live account.

4. Name the channel and select import
5. The imported presentation will now appear in your Clevertouchlive account
Note: Sending a presentation to the screen editing a presentation, creating a new presentation is
exactly the same as working with Launchers previously explained in this course

Lesson 4 Schedules
1. Select the Presentations tab
2. Select the schedule icon
3. Select the Plus icon

4. Name the schedule and select a presentation to go back to when the schedule ends, select
save
5. Double tap or double click on today’s date which is highlighted

6. Select a presentation from the drop-down menu, edit the start time and end time, click
create, check the recurring box to setup a recurring schedule, click create
7. The schedule will now appear in the calendar

8. Select the screens tab then schedule on the left-hand side
9. Drag the schedule to the screen(s), the thumbnail will now contain a schedule icon at the
bottom left

Lesson 5 Presentation Loops
1. Select the Presentations tab
2. Select presentations loops from the tool bar

3. Select the Plus icon
4. Give the presentation loop a name and select save

5. Drag the presentations that are to be included in the loop onto the page
6. On each thumbnail select the time button at the bottom right and select a time the
presentation loop plays on the screen

7. Add the time on each presentation, select save
8. Select Screens then presentation loops from the dashboard

9. Drag the presentation loop to the screen(s), the thumbnail will now contain a presentation
loop icon at the bottom left

Lesson 6 Actions
1. Select the Presentations tab, click on the actions icon from the grey toolbar
2. Select the plus icon
3. Name the action
4. Choose what to play, on what screen, browse to choose an icon and save

5. The new virtual button action and icon will appear on the screen
6. Create an interface
7. Login to your Clevertouch account on your mobile device.
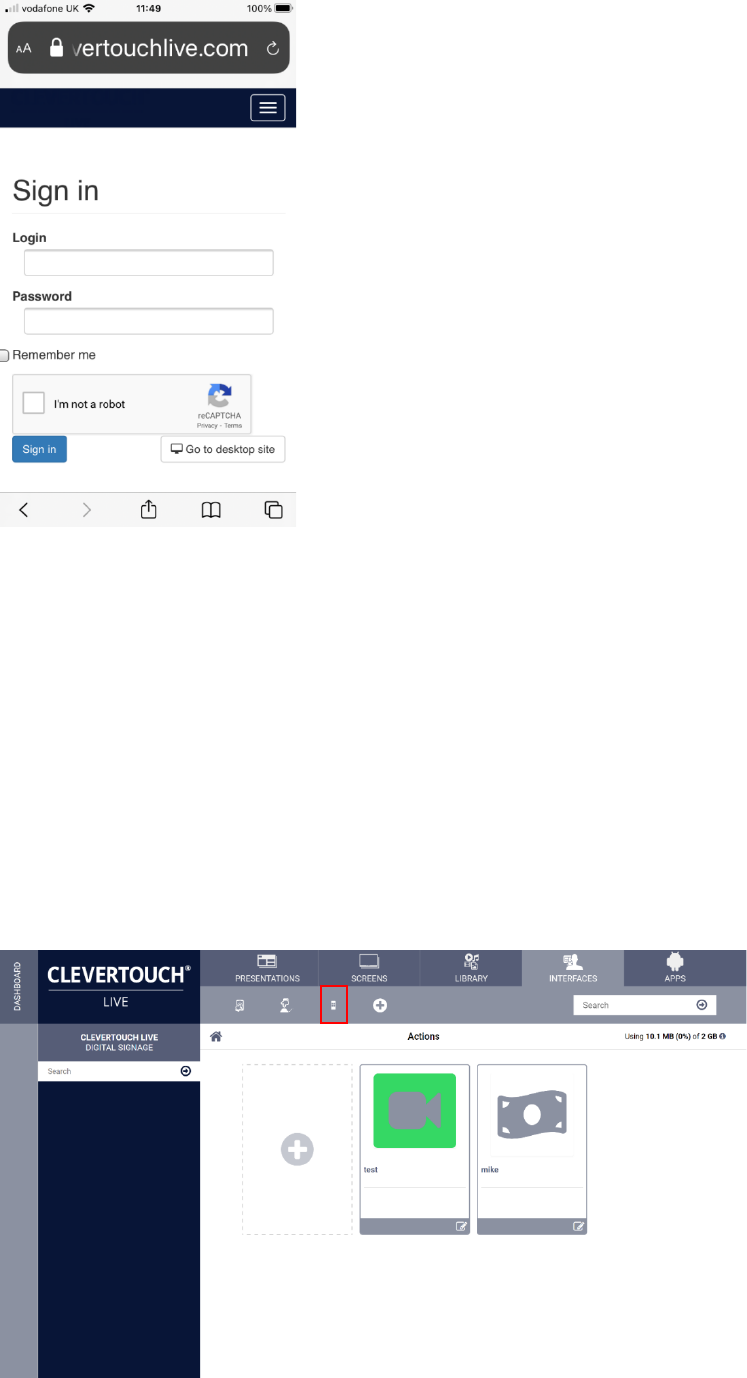
8. Select the icon on the mobile device to send the presentation
Lesson 7 Creating a QR Code
1. After creating the virtual button action, select mobile access

2. Select the plus icon
3. Select a template, click on the add icon, select import
4. Select the mobile access icon

5. Select the edit icon in the thumbnail
6. Select a zone on the mobile device.

7. Click on the selected zone on the mobile device icon, fill in the details of what presentation
to send, click save
8. Click on QR code

9. Tick the make public box
10. Select name
11. Select expiration time
12. Add URL link to revert for take away and save
13. Download the QR code into a presentation that includes an image zone

14. Scan the QR code to send the presentation to your screen
Lesson 7 Announcements & Alerts
1. Select the Screens tab
2. Select the announcements icon

3. Drag a presentation to the screen, set the duration and click send.
To send an alert select the alerts icon and drag the presentation to the screen

Note: The presentation will play until a cancel message is dragged to the screen
Lesson 8 Library (Images)
1. Select Library from the grey toolbar

2. Select Images
3. Select the Plus icon
4. Give the Library a name and click on save
5. Select the Plus icon
6. Select the files to be used in the Library, select finished

7. Navigate to a presentation that contains images
8. Edit the presentation
9. Select the edit image button on the left pane
10. Select the switch to media library content
11. Select the newly created Library from the drop-down menu, select save

Lesson 9 Creating Users
1. Select Users from the Home screen
2. Select Create User

3. Fill out the Create Guest user form and select Create
4. Edit either a Launcher or Presentation
5. Click on the padlock to open the design creation toolbar
6. Select Images (You can select any zone)
7. Select Guest user permissions

8. Select user permissions

Lesson 10 Room Booking
1. Select Room Booking
2. Select either Office 365 or MS Exchange 2013 or newer, fill out the relevant details, click
save
3. Under the Rooms section, select the Add New tab

4. Fill out all the fields in the create room specific settings, click on save.
5. Select Interfaces, Room Booking, import a Clevertouch Live Rooms template.
Note: The above procedure is the same as importing either a Launcher or Presentation.
6. Select the Screens Tab, click on the edit button on the Room Booking Panel

7. Select the Room and the Room booking Presentation from the drop down-menus in the
editing screen room booking panel section, click save
8. Select Rooms within Outlook to book the room

